Failed to connect to server. The connection time out. Make sure you’ve configured a valid streaming service and no firewall is blocking the connection. Before moving on to the solutions to fix OBS failed to connect to the server, check if you can stream in OBS on a different network or a different device on the same network. Also, check if the streaming service servers are up and running. Moreover, make sure to enable Wi-Fi (even if you are using an Ethernet cable). Additionally, check if the Ethernet cable is plugged into a regular Ethernet port, not a 10GE port. Furthermore, check if rebooting your PC and networking equipment solves the problem. Last but not least, if you are hosting a Vodcast, then make sure to end it and then try to stream using OBS.
Solution 1: Create and Re-enter the Stream Key
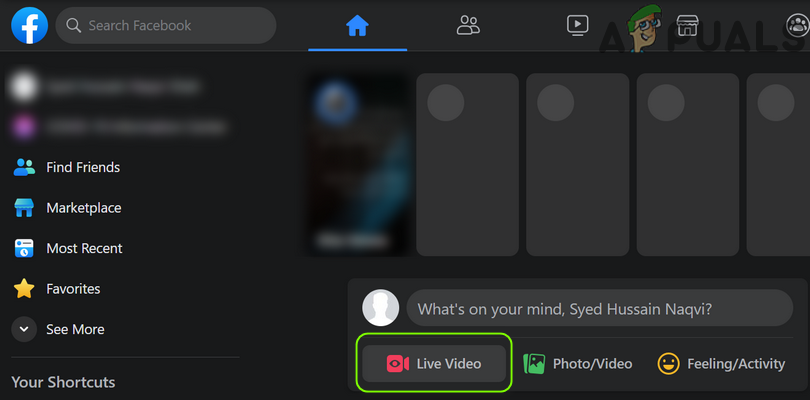
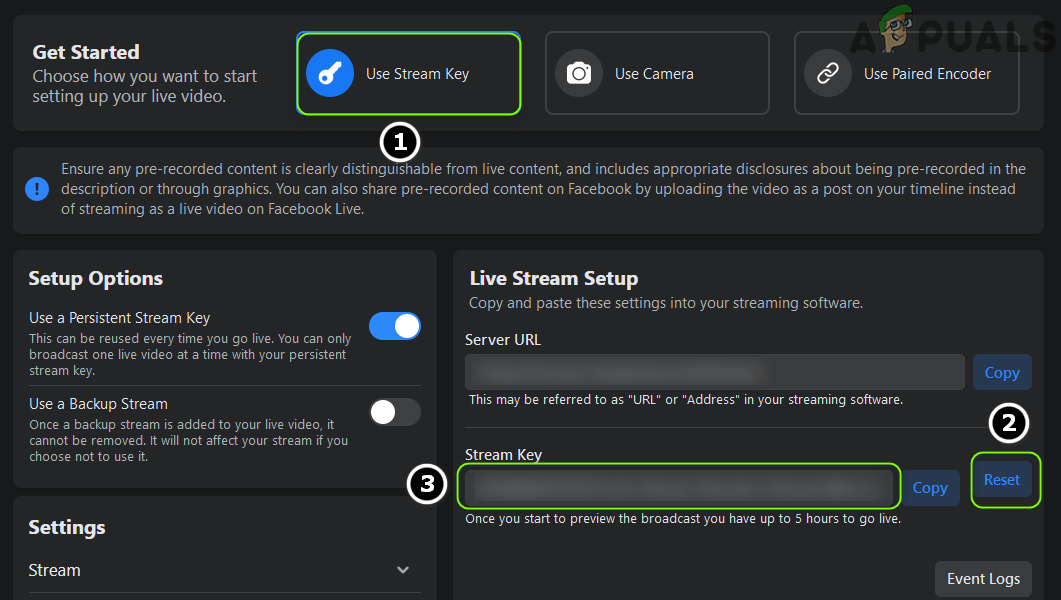
A temporary glitch between the OBS application and streaming service may cause the server issue and may get cleared after re-entering the Streaming key after resetting key. For illustration, we will discuss the process for Facebook Live, you may follow the instructions as per your streaming service. If the issue persists, check if using a different account (e.g., a different Twitch account, if the issue is occurring with Twitch) resolves the OBS issue.
Solution 2: Enable Dynamic Bitrate in OBS
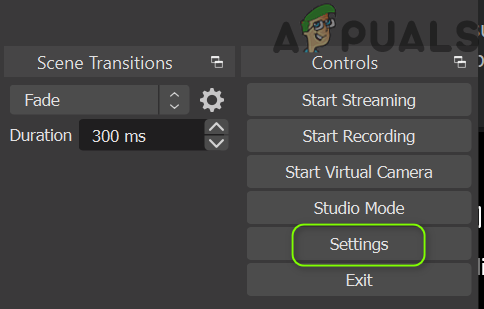
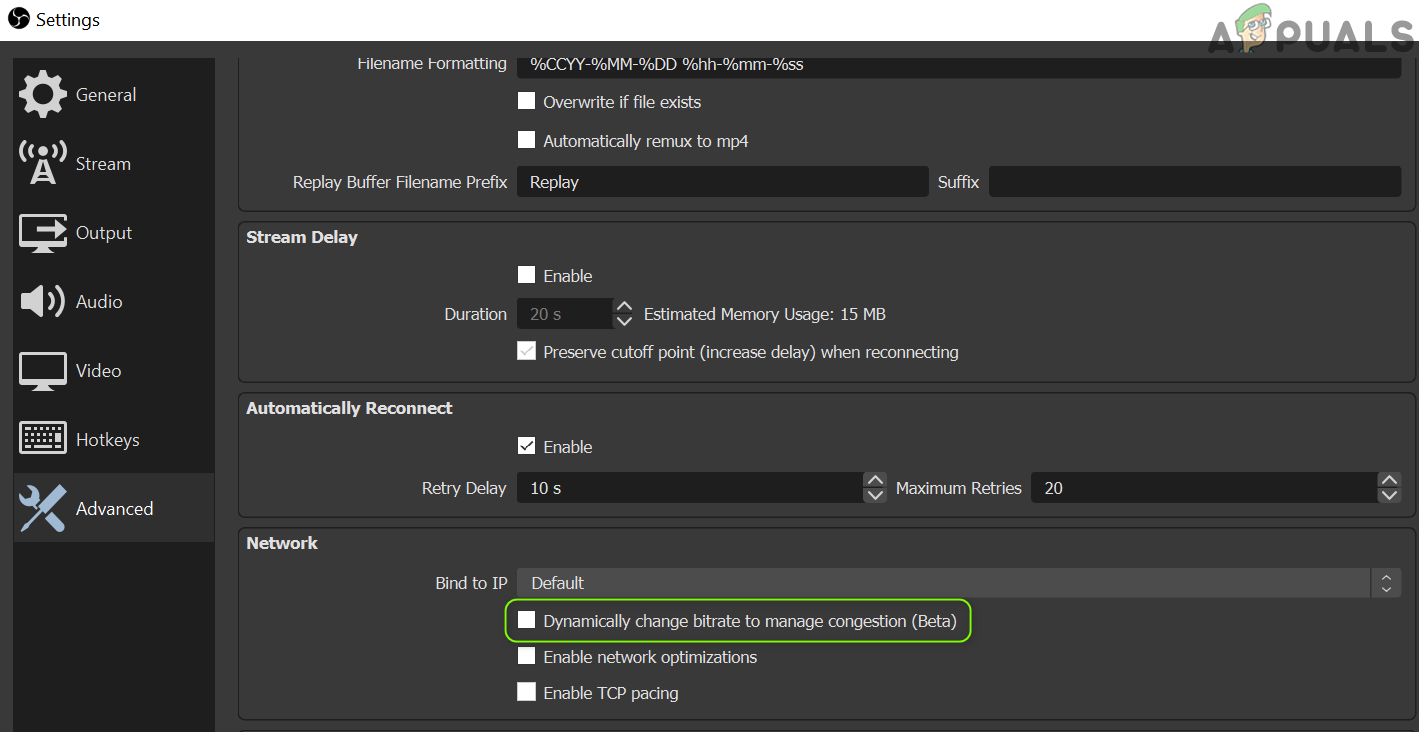
You may encounter the issue at hand if the frames are dropping during the streaming process. In this case, enabling the Dynamic Bitrate may solve the problem (this option is only available on OBS version 24 and above).
Solution 3: Update the OBS and OS of Your System to the Latest Build
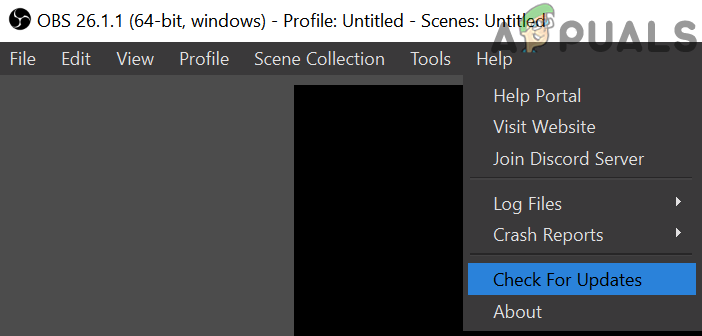
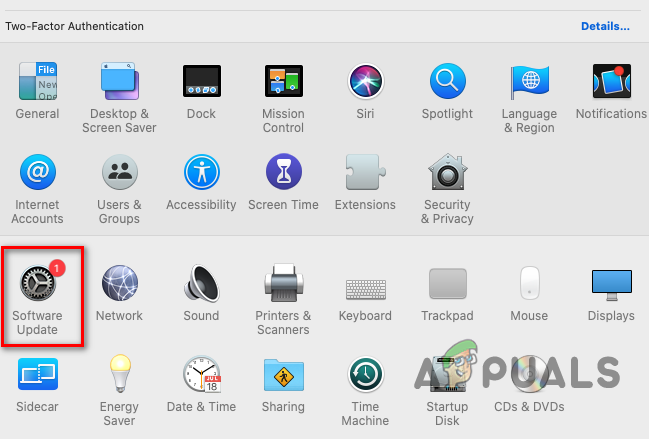
The OBS application may show the failed to connect to server message if the OBS application or the OS of your system is outdated as it can create incompatibility between the both (as well as with the servers you want to stream). In this scenario, updating the OBS and OS of your system to the latest build may solve the problem.
Update the OBS Application
If you are using an obsolete version, then download/install (without uninstalling the previous version) the latest version of the OBS application and check if that resolves the OBS issue. If you are using a Linux distro that is based on PPA (like Ubuntu), then you may execute the following in the Shell to check if that resolves the OBS issue:
Update the OS of your System
For illustration, we will discuss the process for a Mac system, you may follow the instructions as per the OS of your system to update.
Solution 4: Change the Streaming Server
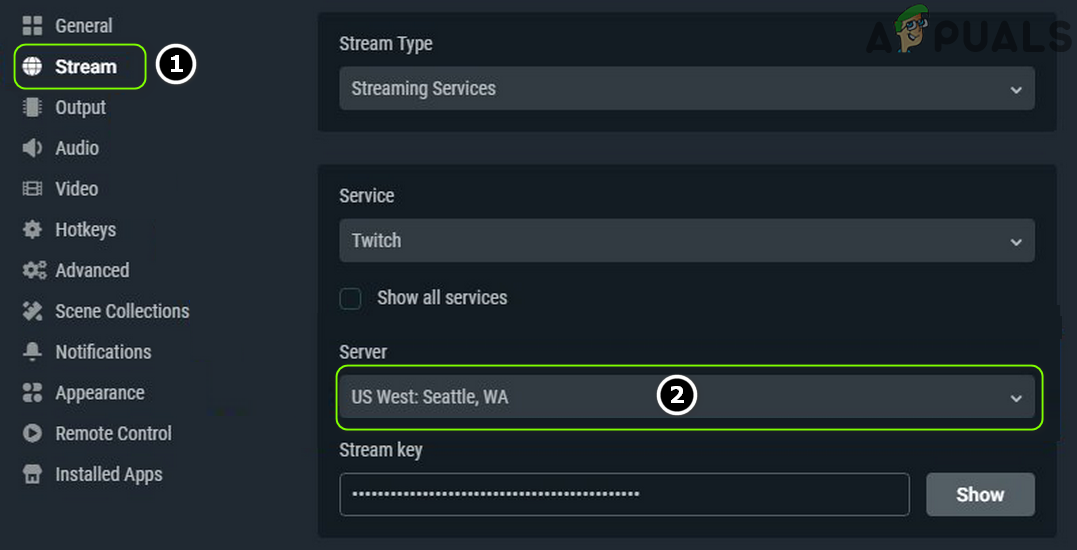
The OBS application may fail to connect to a server if the server itself is down. In this case, changing the streaming server to a different location may solve the problem. For illustration, we will discuss the process for the Twitch service. But before proceeding, it will be a good idea to use a port scanner to check if the server port is open. If so, make sure an application is listening to the open port. If you are having trouble finding the server, then you may use the Twitch Test utility (or Ping the server) to find out the best server for you. For some services, you can try also try the auto-configure option to solve the OBS issue.
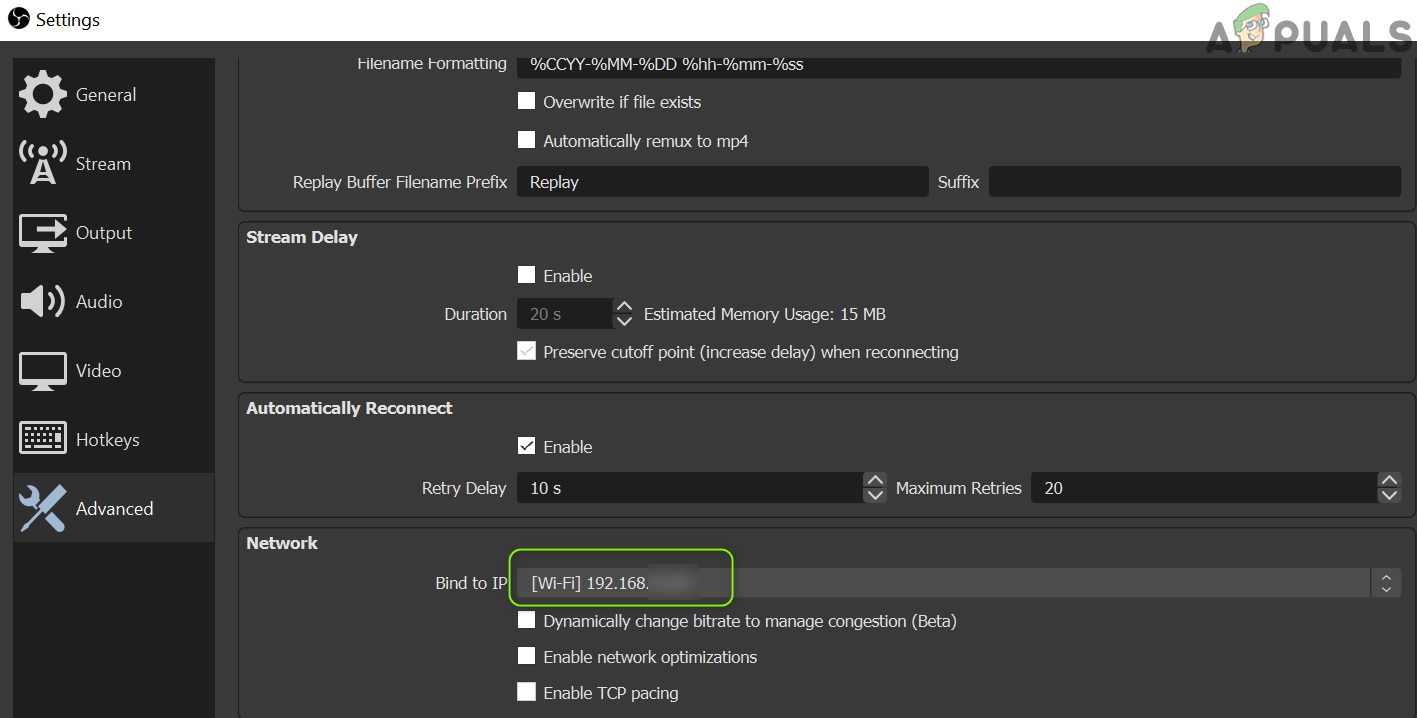
Solution 5: Edit the Bind IP Option in the Advanced Network Settings
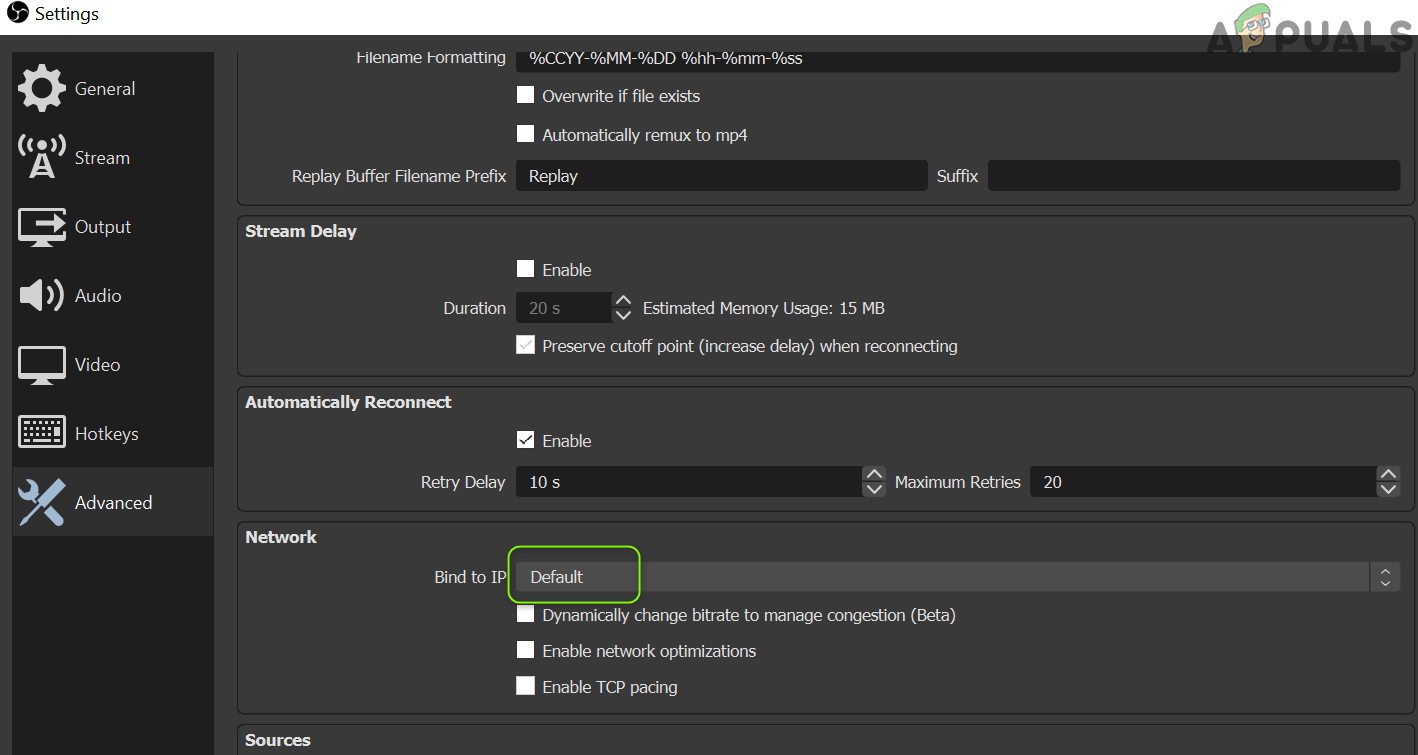
The OBS application may fail to connect to a server if the Bind IP option in the Advanced Network settings is not properly configured. In this context, properly configuring Bind IP may solve the problem.
Solution 6: Allow the OBS Through the Firewall of Your System
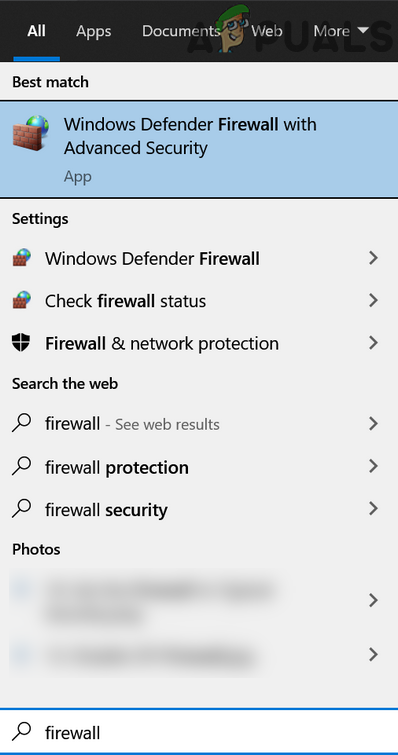
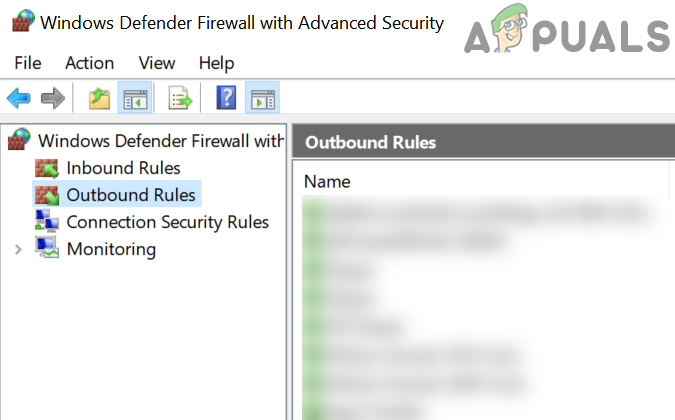
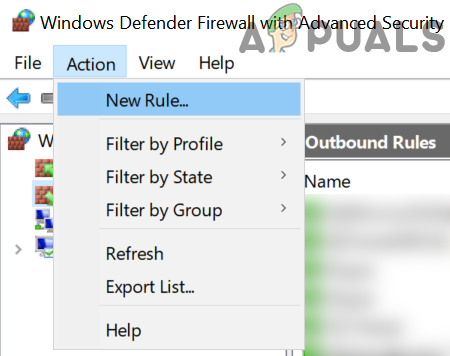
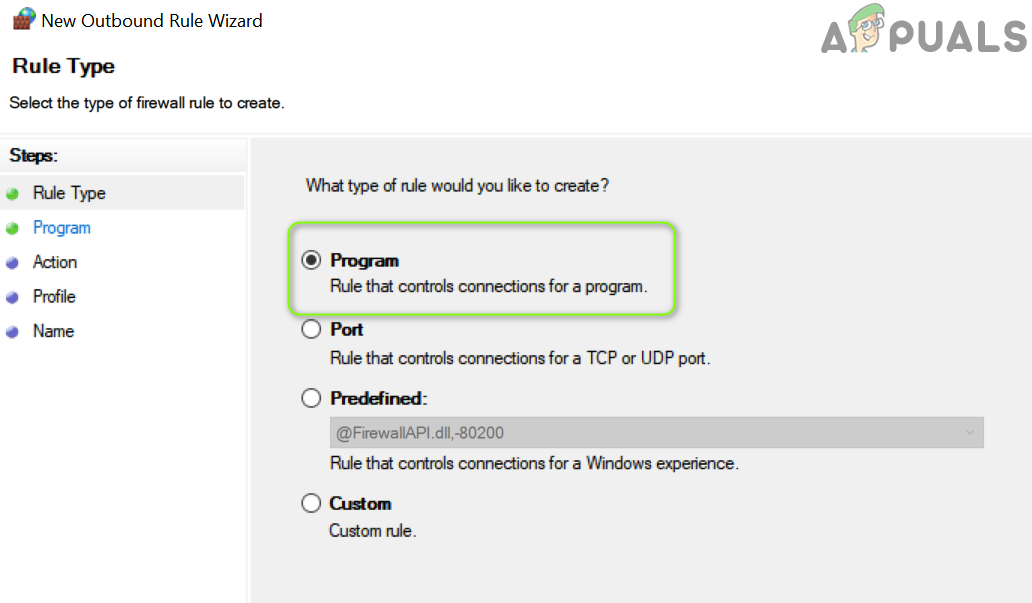
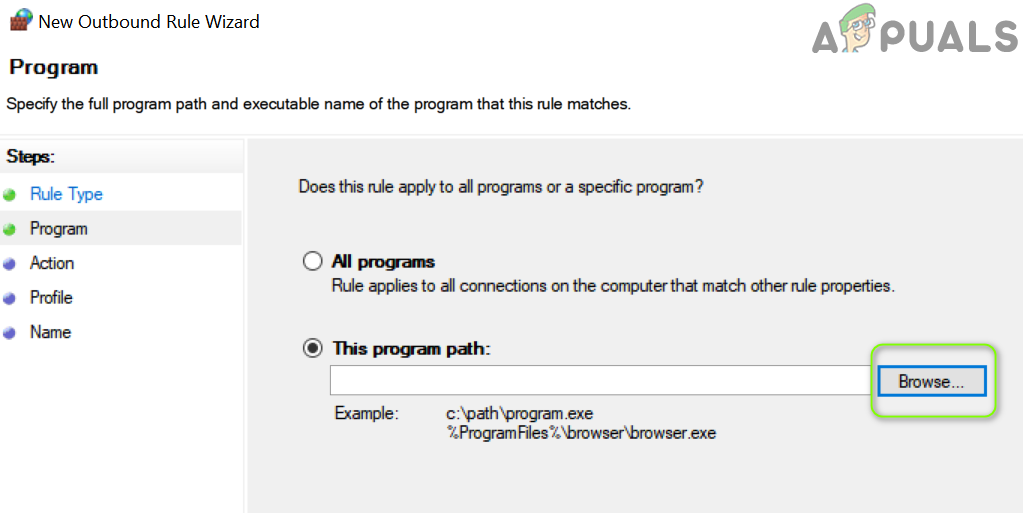
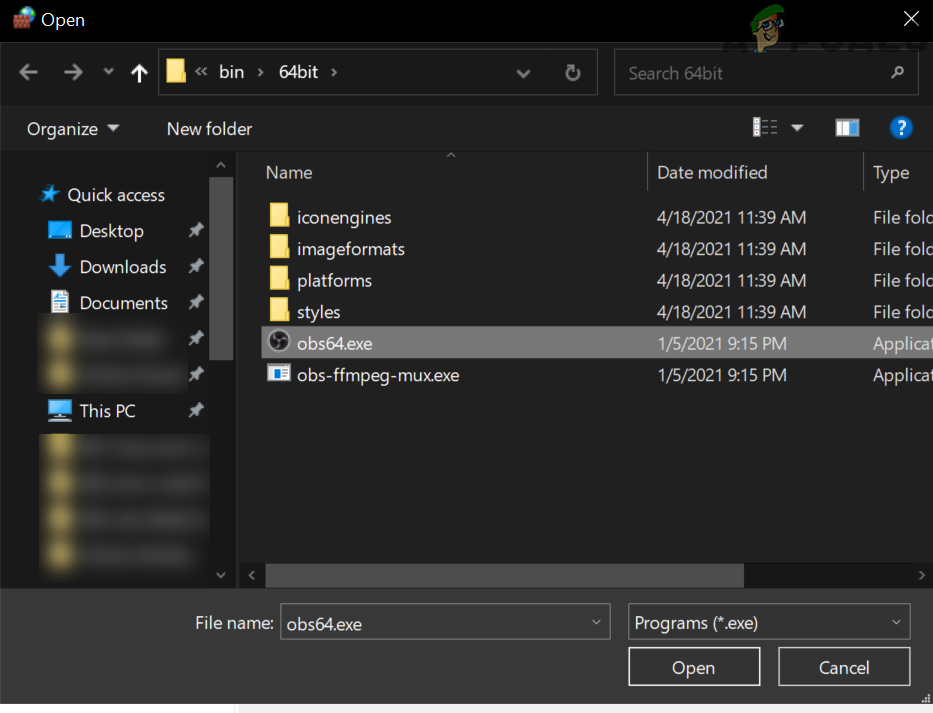
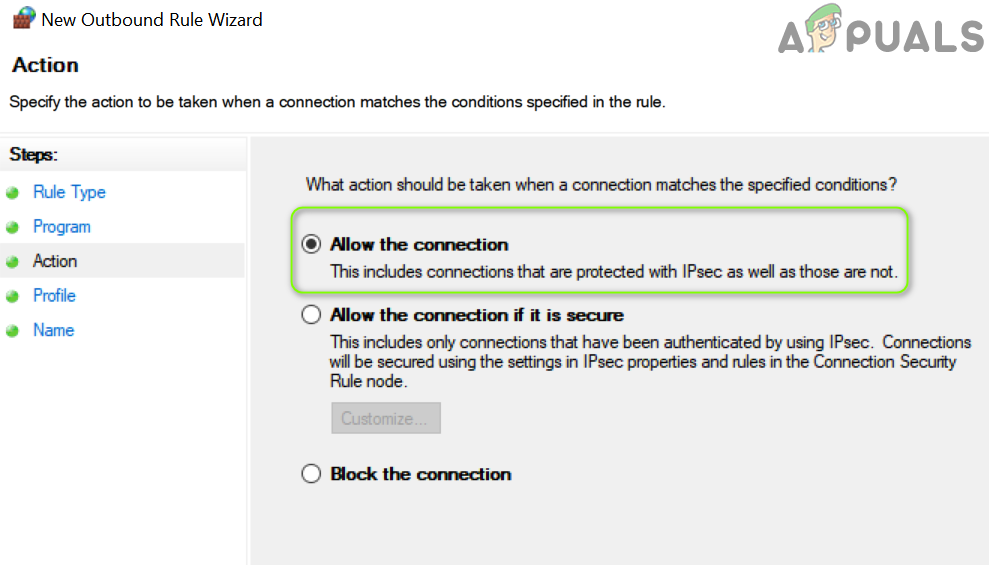
You may fail to stream through the OBS if your system’s Firewall is blocking access to a resource vital for the operation of the OBS application. In this context, allowing the OBS through the Firewall settings of your system may solve the problem. For elucidation, we will discuss the process for Windows Defender Firewall. If the issue persists, then make sure that the router’s firewall is not blocking OBS. Also, if you are using the OBS application in a VM, then check if the Firewall (of the system or Router) or the VM itself is not blocking the access of the OBS. If so, then open the TCP port 1935 (Outbound Rules» Action» New Rule» Port» TCP 1935) in the Firewall settings to check if that resolves the OBS issue. If the issue persists, then check if disabling the antivirus of your PC resolves the OBS connection issue.
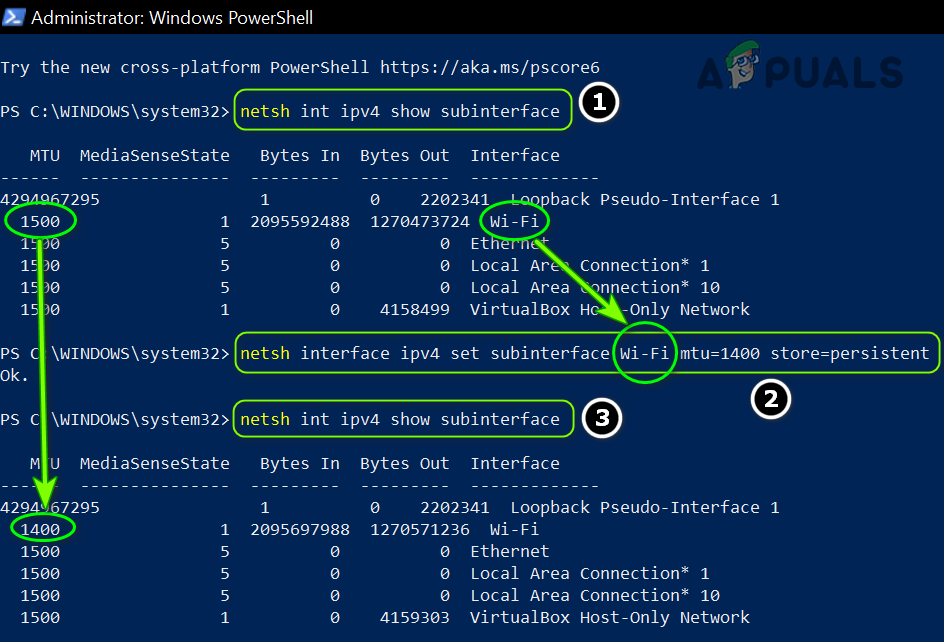
Solution 7: Lower the MTU (Maximum Transmission Unit) Size
The MTU (Maximum Transmission Unit) is used to set the maximum size of the network packet to be sent and a streaming server may drop the packets (sent by the client) that are greater in the size from the configured MTU size of the server. In this scenario, lowering the MTU (Maximum Transmission Unit) size may solve the problem. For illustration, we will discuss the process for a Windows PC and you may follow the process as per your OS.
Solution 8: Reset the Router to the Factory Defaults
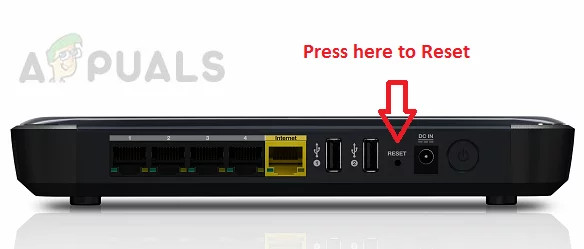
You may encounter the issue at hand if your router settings are corrupt. In this case, resetting the router to the factory defaults (make sure to keep the credentials/instructions available) may solve the problem. This process is usually not difficult but due to diversity in the router’s make and models, it is not feasible to cover all of them but the general approach is usually the same. You can reset the router either through a button on the router or use its web portal.
Reset Router Through a Button
Reset Router Through the Web Portal
After resetting the router, make sure the necessary ports are forwarded (if required by the streaming server) and hopefully, OBS failed to connect issue is resolved.
SOLVED: “Unable to initialize audit layer: Permission denied” bug in libvirt-bin…SOLVED: Could Not Connect to Network Error in Windows 10Fix: Overwatch Failed to Connect to ServerHow to Fix Overwatch 2 Login Error “Failed to connect to Game Server”

